Saturday, November 17, 2012

An oriental "rug".

Hi everyone.

I have been working on my rug and have not posted for a few days. It is painted on my hallway floor and it has both Islamic and William Morris designs. When I design something, I look through Google images and then adapt whatever I like to make my design work. After all the trouble I went through with this rug, I wish I had just copied the design from a real Oriental, of which we have several. I cut all new stencils for this one and I made it up as I went along! I didn't even measure, I eyed everything. You should have seen me trying to make the arabesques look like they made sense on both sides of the rug, since the spacing was off.  I doubt that anyone is going to look that closely!


This is not the first rug I have painted on this spot.  The old one, below, was painted over to make room for the new one!  I used stencils that I had used for other designs. We had it for many years and I wanted a new look.


The spider plant is painted on my kitchen door. The plant's leaves served as a decoration for this rug.

All I did was turn the stencil sideways. Another stencil that I had used in a bedroom worked well on the edge.

I started this "new" rug" two years ago, and never finished it.  Since my blog was not in existence then, there are no pictures of how I started it. However, I took enough pictures as I was finishing it so you can get an idea of how it was done.

For this rug I chose to paint the wood planks two different colors, since it looks more realistic.

 Let's focus on the red diamond below.  Each color was painted separately, the white, the red and then the green, in that order.  The different bands were not pre-planned. I just went with what looked good to me.
Of course, I decided ahead of time what colors I would use in the overall design.


Notice that the arabesque design around the red square is stenciled only on the right side. I then flipped the stencil and painted the left side.  See below.


The stencil was hard to manage because it was large, and the lines of the arabesque were thin.  I had to cut it twice since the first one tore. Notice how wide the "bridges" are.  Bridges in a stencil are the uncut pieces that connect the parts so the stencil does not fall apart.  I had to connect the pieces freehand. You do what you have to do.


 Before and after connecting the bridges in the light and the dark gray arabesques.


On another one of the squares, I had to paint a blue line and stencil diamonds on the dark green space. First, I painted the blue line using painter's tape. Then I used a stencil for the diamonds. It is the same stencil I used for the edge of the rug.


To complete the rug I stenciled a fringe on both ends. The rug is colorful and both my husband and I are happy with it!  Are you going to paint a rug in your apartment?  It does take time, but it is fun and a great way to cover a hallway.  


Wednesday, October 24, 2012

Ideas for your Home: decorlola@blogspot.com

Ideas for your Home: decorlola@blogspot.com: Hellooo! Today I am going to share my Moroccan tables with you.  I had not done too many difficult projects before taking this one on, so...

Wednesday, October 17, 2012

decorlola@blogspot.com

Hi again.  This is the continuation of my last blog.

The Moroccan Room


The clay lamp shade is from Nicaragua. It is decorated with moons
and stars.  It looks Moroccan!

The throw is from Turkey, a present from a friend.
 This portrait I did of my husband years ago, seemed to fit. The plate is from Morocco.


This carved jaguar head is Mexican. I mounted it on a green piece of wood so it would stand out from the wall.
 The picture under it is hard to see, but it is a Middle Eastern scene. Maybe I will make a copy of a colorful Matisse to put in the room!
The window covers and the roman blinds I made from a beautiful fabric.
This is all. I hope you were inspired by some of the items! I had a lot of fun putting the room together.  Lola

Friday, October 12, 2012

decorlola@blogspot.com


Hello you all!


I will continue with yesterday's blog showing you some features of the "Moroccan" room. The room is rather dark because it has wood paneling, so some of the pictures will not be that great. I apologize. I could have used flash, but I don't like the glary images.

The bedroom has a green beadboard ceiling, so I wanted to use fabrics that would go with it. I made the tassels from embroidery thread.


The other side of the room has a Victorian chair turned Moroccan with color, a shiny fabric and small
finials on top, which were very hard to find. I lucked out at a garage sale.  

The table is Moroccan. I had the tray and found the legs at a thrift shop. The mirror has nothing to do with Morocco, but I needed one there!

The headboard is a street find. I turned the legs upside down so it would have a more "grand" look.  The Arabic stenciling says "sweet dreams".


I will share the rest of the room details in my next blog.  I feel like Scheherezade:  come back tomorrow if you want to see more!  Adios!

Thursday, October 11, 2012

decorlola@blogspot.com

Hellooo!


Today I am going to share my Moroccan tables with you.  I had not done too many difficult projects before taking this one on, so I chose a simple design. All four sides on the bottom are the same size and they taper a little towards the top. The pieces were not that difficult to cut with my little jigsaw.


The bottom part of the table is 3/4 inch plywood. The tops are solid pieces I happened to have. They were about the right size for a bedside table.

The tabletop was stained green.  The rest of the table was painted with a matching semi-gloss latex.  I chose
to stain the top because the wood had very pretty markings, which, at the end, did not show that well.

The table and the stencil designs were taken from Google Images.  I looked at many and adapted them to fit my taste.  I also used latex paints for the stenciling.

Here they are in the "Moroccan" room at our house

I will give details of the rest of the room in the next blog. Hasta la vista.  Lola

Sunday, October 7, 2012

decorlola@blogspot.com

Hi everyone.  This is a continuation of my last blog entry.

A "new" piece of furniture


I had a sketch of what I wanted the piece to look like, but I changed and added details as I was building it.  

This is the top of the desk. The piece of wood for the legs runs from the top all the way to the bottom 


I wanted to add a door, so I cut a piece to mimic the scallop on the right side and added a bottom.
I also cut decorative pieces for the legs.


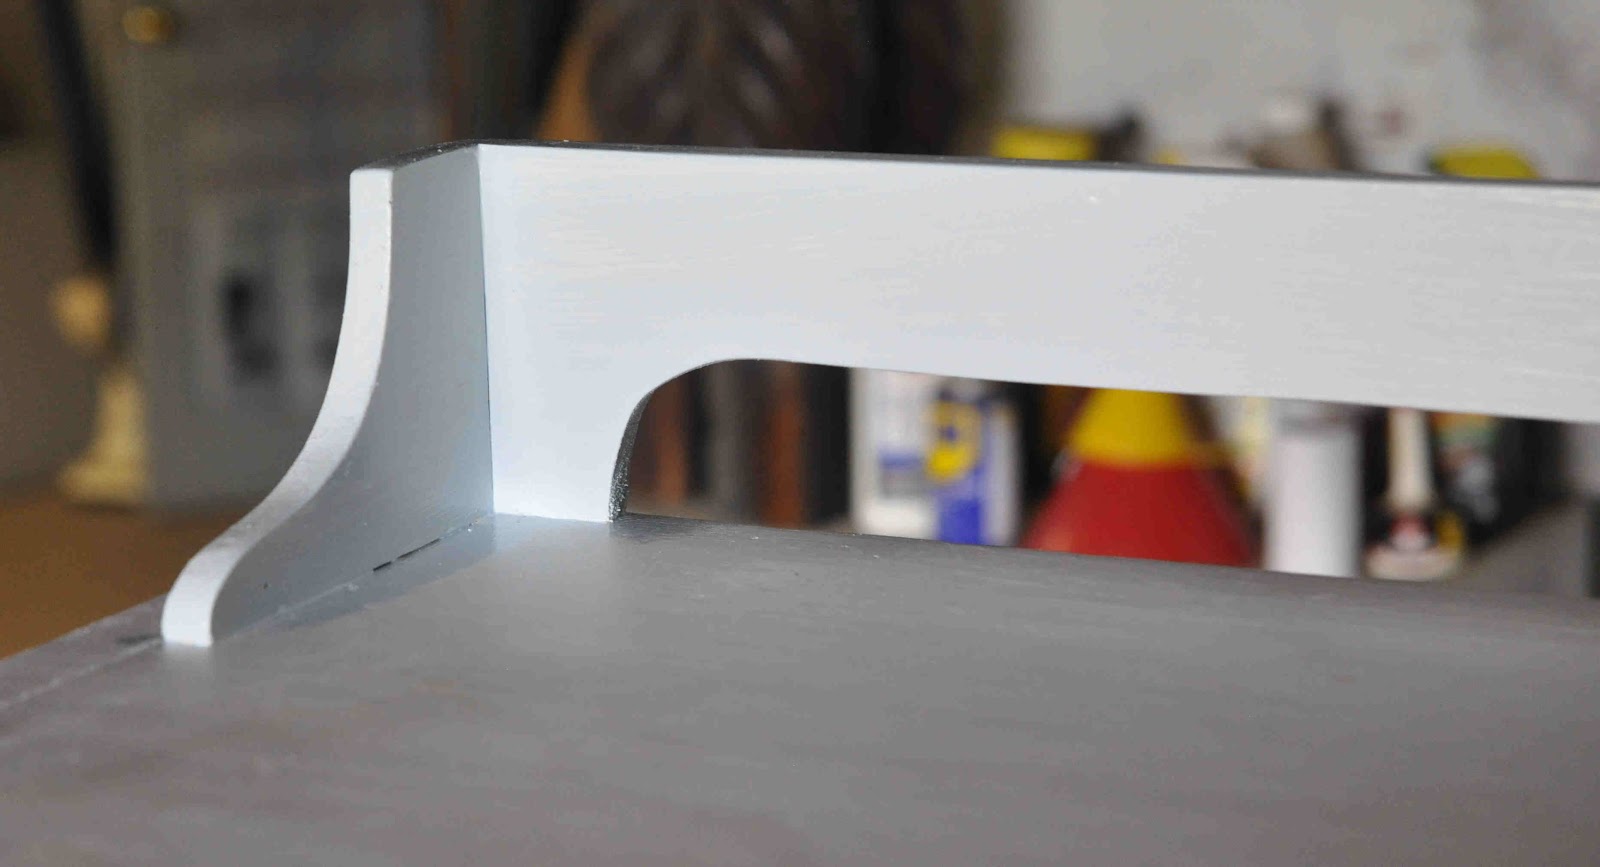
I added a piece to the top, also mimicking the curves on the bottom part,  to give the whole piece more unity


The piece came out even better than I expected it to be. I was sorry to paint the black vintage door hinges,  but the knobs I chose were white ceramic and the black hinges did not look good.  Perhaps at some point I will strip the hinges and find black hardware for the drawers. I painted the cabinet with semi-gloss latex.

See you next time.  Lola

Wednesday, October 3, 2012

decorlola@blogspot.com

A "new" piece of furniture

Hi everyone. Today I am going to show you the transformation of a simple wooden desk into a jazzy cabinet.
I feel like a magician!


It went from this.....

to this....
to this!
 I am going to post this blog now and give you the details of how the cabinet was completed in the next one. I am having lots of trouble with my computer crashing before it gets posted!  Au Revoir!